Everyone wants an exposed brick wall until they price out what it actually takes to build one from scratch. Structural brick means footings, load calculations, and a wall that wasn’t designed for it suddenly needing to carry a lot more weight. Thin brick tiles skip all of that. You get the same texture and colour depth as real clay brick, applied like a tile, on a wall that’s already standing. Here’s how to plan and build one properly.
What Are Thin Brick Tiles?
Our
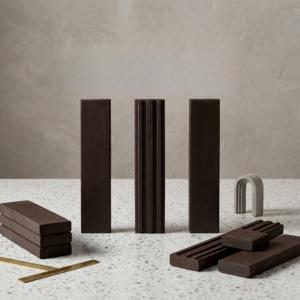
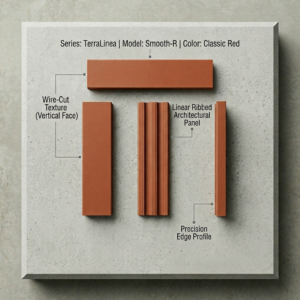
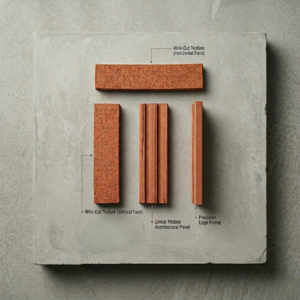
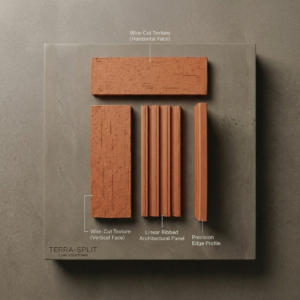
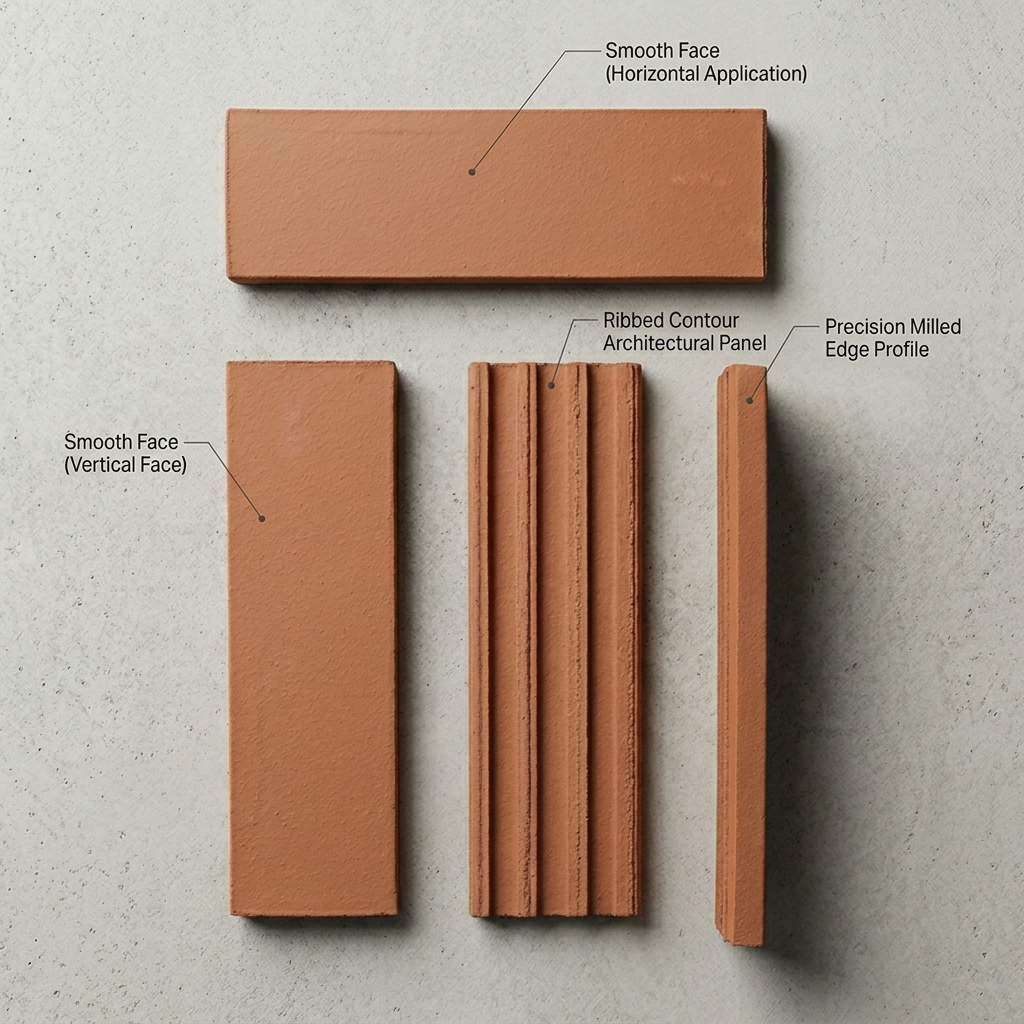
Terracotta Satin Thin Brick is a genuine clay brick tile measuring 225 × 70 × 14 mm, cut to a slim profile so it installs like a tile rather than a structural brick. Because it’s made from real clay, it carries the same texture, colour depth, and durability as traditional brickwork, without adding significant weight or thickness to a wall.
Why the Slim Profile Matters
At just 14 mm thick, thin brick tiles install with tile adhesive rather than mortar footings, which means no structural assessment, no engineer sign-off, and no months-long build process.
Why Choose Thin Brick Over Full Masonry
For interior feature walls, full-face brick is rarely practical. It requires structural support, adds significant weight, and is far more disruptive to install. Thin brick tiles remove these barriers entirely, making a brick feature wall achievable in almost any room, including apartments and upper-floor spaces where load-bearing capacity is limited.
| Factor |
Thin Brick Tile |
Full Face Brick |
| Thickness |
±14 mm |
±70–110 mm |
| Installation |
Tile adhesive |
Mortar & structural build-up |
| Weight |
Lightweight |
Heavy |
| Best for |
Renovations, feature walls |
New structural walls |
Planning Your Feature Wall
Choosing a Location
Popular spots for a thin brick feature wall include the space behind a bed headboard, a living room accent wall, a kitchen splashback, or a fireplace surround. Because the tiles are so slim, they rarely require door or trim adjustments, which keeps the project simple.
Choosing a Finish
Thin brick tiles are available in Satin and Travertine finishes. If you’re undecided, our detailed breakdown in
Satin vs. Travertine Thin Bricks: Picking the Right Texture for Interior Walls will help you choose the right texture for your space.
Materials and Coverage
Each box of thin brick tiles covers 1 m² using a 10 mm mortar joint, at approximately 52 tiles per box. Always calculate your wall area first, then add 5–10% extra for cuts around switches, corners, and outlets. For a broader look at planning quantities and patterns across our terracotta range, see
The Ultimate Guide to Terracotta Quarry Tiles for Patios and Courtyards.
Tools and Materials You’ll Need
Before starting your feature wall, gather the right tools to make the job easier and the finish more professional.
Essential Tools
A notched trowel for spreading adhesive, tile spacers to maintain a consistent 10 mm gap, a rubber grout float, a mixing bucket, and a wet saw or angle grinder with a masonry blade for cutting tiles around outlets or corners.
Getting the Basics Right
A spirit level is essential for keeping rows straight, particularly on taller feature walls where even a small deviation becomes noticeable over a few metres. If you’re new to tiling, practising your cutting technique on a spare tile before starting the main wall can save both time and material.
Step-by-Step Installation Overview
- Prepare the wall surface — clean, dry, and structurally sound.
- Apply a cement-based tile adhesive suitable for thin brick.
- Lay tiles using consistent spacers for even grout lines, working in small sections.
- Grout once the adhesive has fully cured.
- Seal the surface if the wall will be exposed to moisture, such as a kitchen splashback.
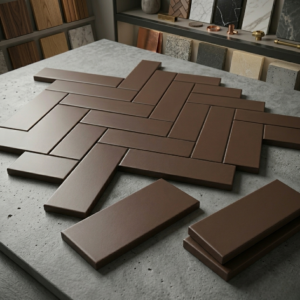
Running bond and stack bond are the two most common patterns for feature walls, with running bond giving a traditional brick appearance and stack bond suiting more contemporary interiors.
Comparing Thin Brick to Klompie Tiles
If you want an even finer, more decorative brick pattern, our narrower
Klompie tiles offer a similar lightweight installation with a more detailed grout pattern, ideal for smaller feature areas.
Common Feature Wall Mistakes to Avoid
Skipping the Dry Layout
Laying tiles out on the floor before fixing them to the wall helps you spot pattern issues, plan cuts around outlets, and avoid ending a row with an awkward sliver of tile.
Inconsistent Spacing
This becomes very visible on a brick-format tile where grout lines are a key part of the design, so consistent spacers aren’t optional.
Rushing the Cure Time
Grouting before the adhesive has properly cured can cause tiles to shift slightly, leading to uneven lines that are difficult to correct afterward.
Long-Term Maintenance
Once sealed, a thin brick feature wall requires very little upkeep. For full care instructions, see our guide on
How to Clean and Maintain Terracotta Floor and Wall Tiles.
Getting Help With Your Feature Wall
If you’d rather leave the cutting and levelling to someone else, or you just want a second opinion on quantities before you buy,
get in touch with Brick Tile Shop. We can help you work out coverage for your exact wall dimensions and point you toward an installer if you need one.
Frequently Asked Questions
Can thin brick tiles be installed by a DIY homeowner?
Yes, with careful preparation and the right adhesive, motivated DIYers can install thin brick tiles. For larger or structural walls, a professional installer is recommended.
Do thin brick tiles need a structural wall behind them?
No. Because they are lightweight and applied with tile adhesive, thin brick tiles can be installed over most stable interior wall surfaces without structural reinforcement.
How much coverage does one box of thin brick tiles provide?
One box covers approximately 1 m² using a 10 mm mortar joint, at around 52 tiles per box.
Is sealing necessary for an interior feature wall?
Sealing is optional for dry interior walls but recommended for kitchen splashbacks or any area exposed to moisture and grease.